
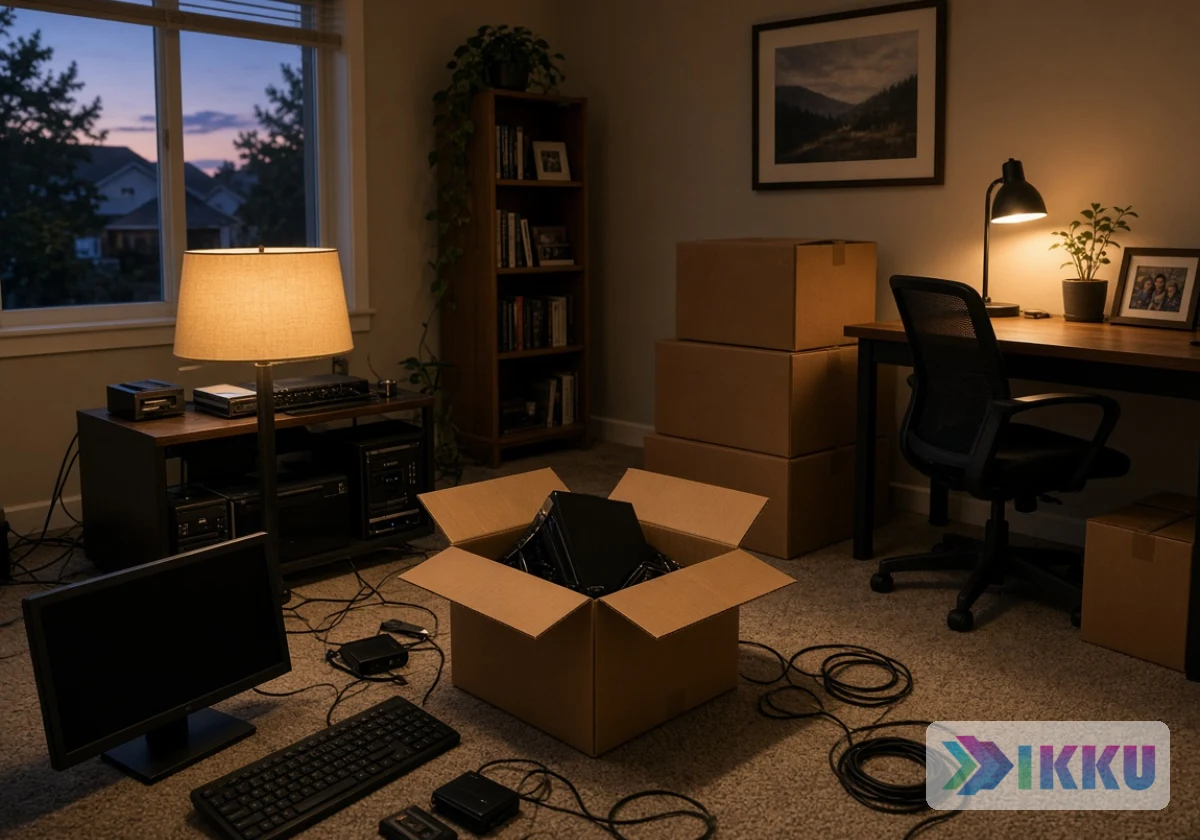
Moving computer equipment overseas involves three jobs. You need to back up your data, protect the hardware during transport, and check compatibility with New Zealand power. Completing these checks before the truck arrives helps you set up after delivery.
These preparations address separate risks. A backup protects your files if equipment suffers damage, while a heavy graphics card can strain its mounting during transport. With these equipment needs in mind, Ikku helps households plan their relocation to New Zealand, including arrangements for home office gear.
This guide covers backups, packing, air freight versus sea freight, power checks, and New Zealand Customs. Start with the packing steps for your desktop computer and peripherals.
Packing Your Desktop Computer and Peripherals So They Survive the Trip

Packing electronics for an international move starts with backing up your data and securing heavy components inside the computer case. Otherwise, cartons tilt and shift as handlers load and unload them, which puts loose internal components at risk of movement and damage.
To protect your computer from the first unplugged cable to the last taped box, work through these five steps in order.
1. Back Up Every Hard Drive Before Putting Anything Inside the Box
Save your important files to cloud storage and an external hard drive, while retaining the originals on your computer. These two separate backups give you recovery options if the shipped drive fails. This follows CISA’s guidance to keep an original and two backups, including one off-site copy.
Once copying finishes, open several files on the external drive and check that your cloud backup has completed. After confirmation, carry the external drive in protective padding in your hand luggage, separate from the shipped computer.
2. Pull the Graphics Card and Other Heavy Components Out of the Case
A large graphics card hangs off the motherboard by a single slot. During transport, jolts place stress on the card’s connection to the motherboard, which increases the risk of damage to the slot or board.
To prevent that, take out the GPU and any tall CPU cooler before shipping the computer. Seal each part in its anti-static bag, then in its own small box. After that, tie down loose cables inside with zip ties. This way, your computer build will arrive with nothing rattling around the case.
3. Which Packing Materials Protect a Computer Tower Best?
The original packaging protects a tower best because its foam inserts match the exact shape. You can use that box if you still have it.
Without it, you can still choose a double-walled carton and fill every side with bubble wrap or foam padding. Don’t forget to avoid loose packing peanuts, which settle and leave gaps. Plus, use foam blocks to stop the computer from shifting during transit.
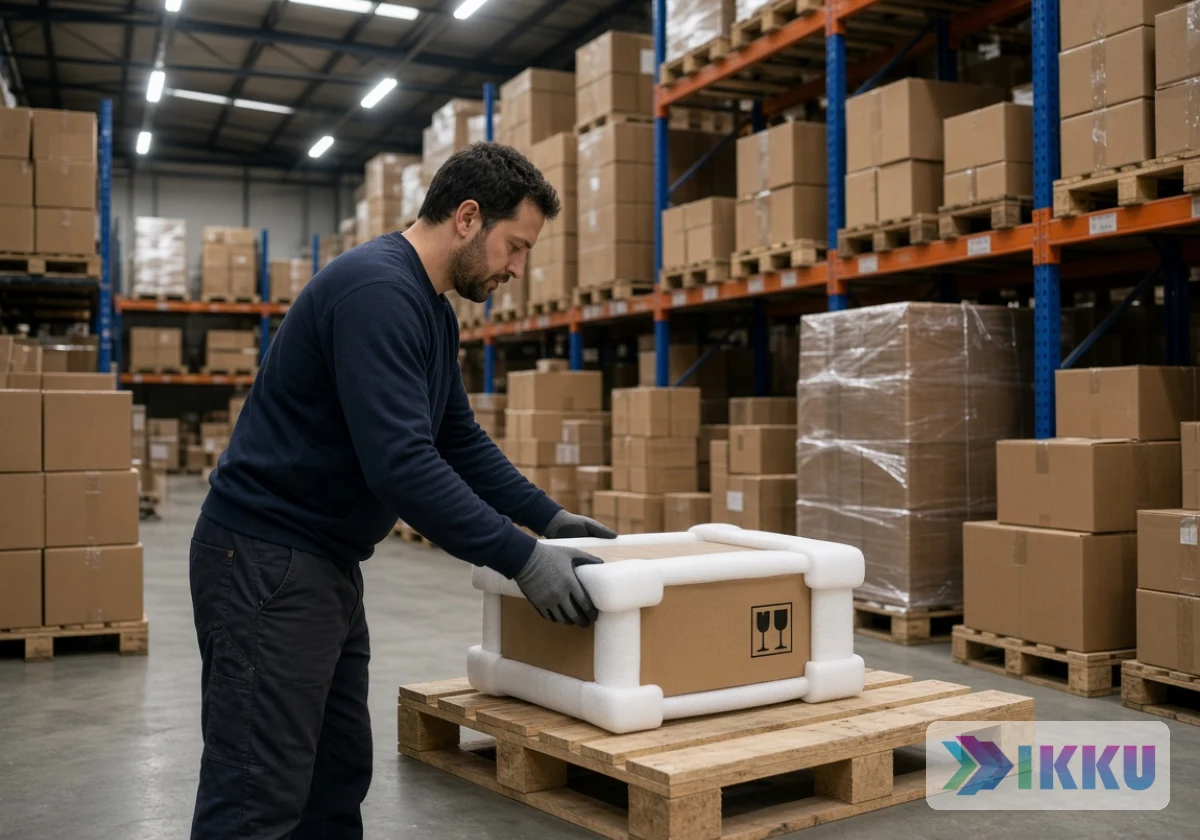
Movers who offer professional packing with quality materials combine cushioning with firm supports to limit movement inside the carton. Once the computer sits securely, seal every seam with strong packing tape and label the box “This side up” and “Fragile”.
4. Monitors, Keyboards and Everything Else on the Desk
Monitors usually crack from pressure on the screen rather than from drops. That’s why you should cover the glass with stiff cardboard, add bubble wrap, and stand each screen upright.
Beyond that, keyboards, mice, and speakers can share one box padded with packing paper. And put USB drives and small adapters in a zip bag taped inside the lid.
However, laptops follow a different rule (they travel safest with you on the plane). Carry yours in a padded sleeve alongside your backup drive, so your most important data never leaves your sight.
5. Label Cables and Photograph the Setup Before You Pack
Before you unplug anything, photograph the back of the tower and the whole desk. Those photos show which cable goes into which port upon arrival.
Next, wrap masking tape around each cable end and write its job on it, like “monitor 2” or “printer”. That way, you can plug each cable straight back in without tracing it from end to end. Then coil each cable loosely and bag it.
From there, put every cable bag into one clearly labelled box. You’ll find what you need in minutes instead of digging through a stack of unmarked shipping boxes.
Shipping Home Office Equipment to NZ: Freight, or Luggage
With the hardware packed, decide how each item will travel. Air freight, sea freight and hand luggage involve different costs, delivery times and baggage limits.
The table compares these options for different types of home office equipment:
| Shipping option | Suitable equipment | What to watch for |
|---|---|---|
| Air freight | Desktop computers and monitors you need soon after arrival | Higher cost per kilo, so send only the tower and main monitor |
| Sea freight | Desktop towers, monitors and bulky peripherals travelling with household goods | Slower, so carry a laptop to work from until the container lands |
| Hand luggage | Laptops, external drives and small accessories | Airlines restrict lithium batteries in the hold, so keep these in the cabin and check rules before you fly |
For most families, sea freight is the sensible way to ship a tower, because the boxes load once and stay put. Either way, compare shipping services carefully when you’re shipping home office equipment to NZ, and pick a mover with real New Zealand experience.
New Zealand Electrical Plug Compatibility: Check Every Power Supply First
Once your gear has a route booked, its power supplies need a check before you switch it on.
Generally, New Zealand runs on 230 volts at 50 hertz and uses the Type I plug (the angled three-pin design shared with Australia). By contrast, North American electronics are usually built for 120 volts. That voltage gap means New Zealand electrical plug compatibility depends on checking the rating on every device you ship.
To check that rating, start with the label on each power brick and the sticker on the power supply unit (PSU) inside your tower. A label reading “100-240V” means the device adjusts automatically, and a simple plug adapter does the job. Some older PSUs carry a small red switch on the back instead (easy to miss behind a tangle of cables).
If your PSU has that red voltage selector switch, set it to 230V before you power up, or the PSU can burn out on first use. In contrast, gear marked “120V” only, like some printers, desk lamps and speakers, needs a step-down transformer. We’d usually suggest selling those single-voltage gadgets before you leave, since transformers are heavy and bulky to ship.
Once you arrive, buy a few New Zealand surge-protected power boards. You can then plug several devices into one board, giving them surge protection through a single outlet without needing multiple loose adapters.
What Happens at New Zealand Customs When Moving Home Office Gear?
In customs, officers compare your shipment against what you’ve declared. They then decide whether duty or GST(Goods and Services Tax), the taxes New Zealand charges on imported goods, applies to any of your items.
That decision often depends on whether your gear is used or new. Used electronics you’ve owned and used before moving usually qualify for the New Zealand Customs household effects concession. However, the concession page states plainly: “If the effects are brand new/ unused, you must declare them, because duty and GST will apply.”
For smooth customs clearance, gather these documents before your shipment leaves:
- Detailed Inventory: List each computer, monitor, and accessory by brand and model so officers can match boxes to items.
- Purchase Receipts: Receipts for your main electronics help establish when you bought them and show they’ve been used.
- New Item List: Note any brand-new or unopened items with their purchase price, since these attract duty.
- Identity Documents: Your passport and visa details provide the proof needed to support your concession claim.
Quick Tip: Keep copies in your carry-on bag so you can answer an officer’s questions on the spot. Your paperwork then travels with you, even if the container runs late.

Ready to Set Up Your Desk on the Other Side of the World?
Moving computer equipment overseas goes well when you save your data first, pack the hardware tight, and check every power supply against 230 volts. Together, these three steps stop a small slip from becoming a dead machine at your new desk.
Start your backup this week, while the computer still sits where it works. Then book your shipping early so you never have to rush the packing.
Ready to ship your home office without the guesswork? Book a pre-move home visit with Ikku for packing and shipping advice built around your move to New Zealand.